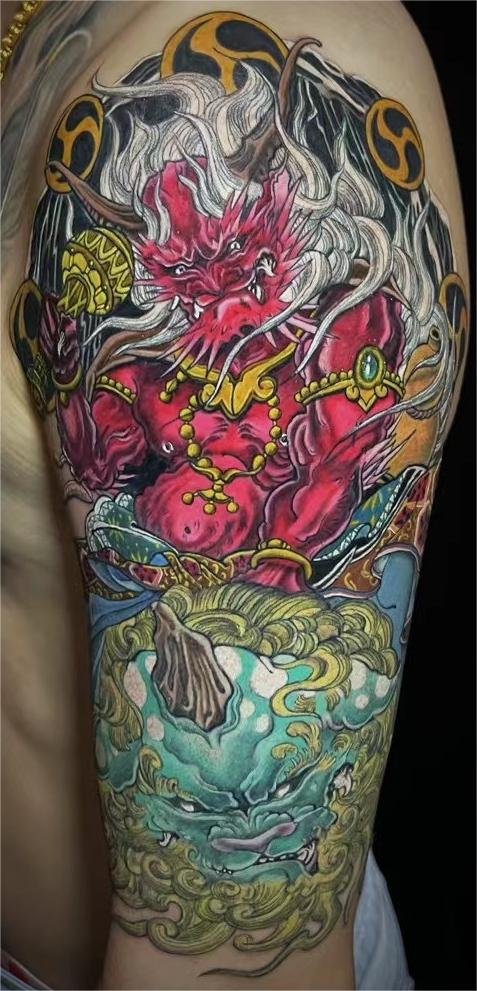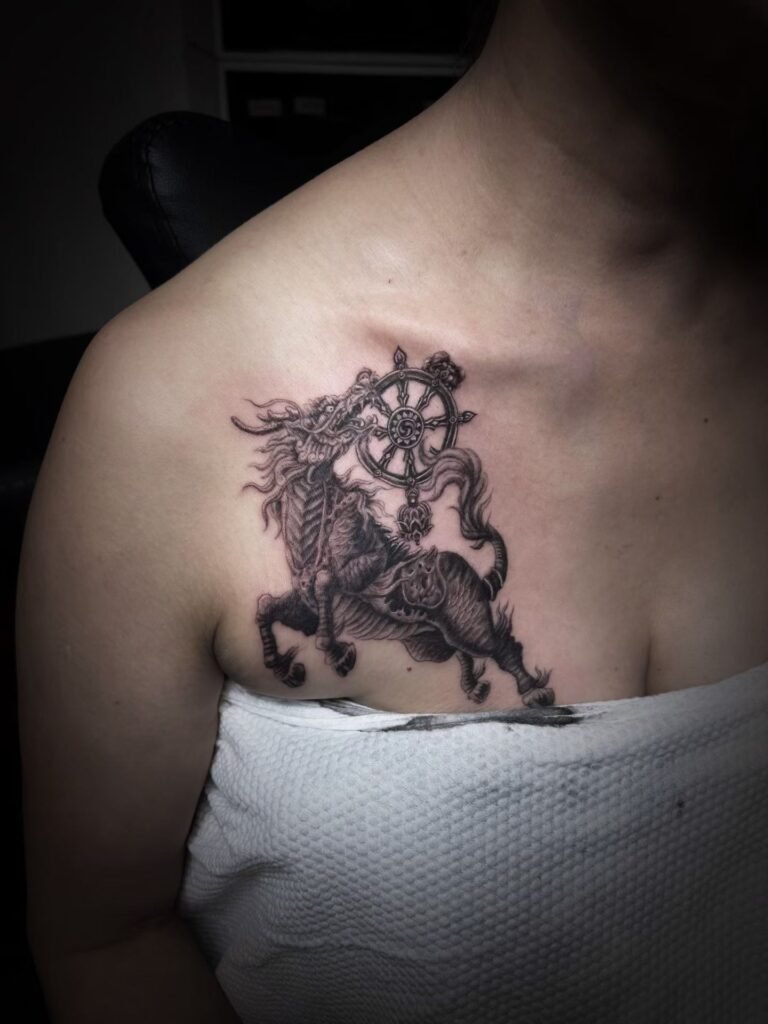
A chest or sternum tattoo fits well when its centre, width and lower edge are planned on the body rather than copied from a flat reference. Sternum tattoo pain cannot be predicted with a universal score: the exact boundary, proximity to the central bone and ribs, design density, sitting length, positioning and individual pain response all matter. Normal breathing also moves the chest wall, so a successful stencil must look settled without asking you to hold an unnatural pose.
Decide first whether the design should follow the centreline, balance across both sides or sit mainly on one side. Then test it against the necklines, straps, bands and layers you actually wear. Send a relaxed front view, both three-quarter views, your preferred visibility boundary and the main design shape before booking. Those details are more useful than asking whether every chest tattoo hurts or heals in the same way.
Separate three placement decisions that are often grouped together
“Chest tattoo” can describe very different projects. Defining the main view early prevents a reference designed for one surface from being forced into another.
A sternum-centred placement
This route uses the body’s front midline as its visual anchor. It may be narrow and vertical, expand evenly to both sides, or use controlled asymmetry while keeping the main subject centred. The sternum is a segmented central bone connected to the ribs through cartilage. Treating it as a landmark helps with alignment, but the design still has to respond to the surrounding soft tissue, rib cage and posture.
A balanced chest placement
A balanced design distributes visual weight across the left and right chest without requiring both halves to be identical. Paired subjects, ornamental structures and broad horizontal compositions can use the midline as a reference while varying detail on either side. The key question is whether the whole piece reads as one arrangement from a normal standing distance.
A one-sided chest placement
A single-side piece can sit between the sternum, collarbone, outer chest and lower chest boundary without crossing the midline. It does not need to imitate half of a symmetrical tattoo. Its inside edge, outward direction and relationship to the nipple, collarbone, natural folds and garment line should all be discussed without assuming a particular body shape or style of dress.
This article focuses on standalone chest and sternum decisions. If the concept is intended to turn onto the shoulder, use the shoulder-to-chest design guide for that transition. If it is meant to continue through the shoulder into an arm project, the chest-to-sleeve planning guide covers a different search question.
Understand chest and sternum pain as a range of factors
The International Association for the Study of Pain explains that pain is personal and influenced by interacting biological, psychological and social factors. That is why a fixed sternum tattoo pain number or a universal chest tattoo pain ranking is not a reliable forecast for an individual appointment.
Physical differences still give you useful questions to ask. A stencil directly over the sternum follows a bony centreline; a design that extends outward can cross costal cartilage, ribs and areas with different amounts of soft tissue. A small dense element may require repeated work in one zone, while a broad design may distribute the work but take longer overall. Positioning can create fatigue separately from the needle sensation.
Discuss these variables instead of asking for a promise:
- the exact top, bottom and side boundaries of the stencil;
- how much work sits on the sternum, over ribs or farther into the chest;
- whether the design relies mainly on linework, gradual shading, solid areas or several techniques;
- the proposed scale and how long you may need to stay in one position;
- prior pain experiences, anxiety, fatigue and how you prefer to signal for a pause.
The tattoo pain chart can provide broad comparison language, but it should not be used as an outcome guarantee. Your artist can explain how the design changes the sitting; only you can report what you feel as the work progresses.
Plan symmetry for a real body, not a folded sheet of paper
Perfectly mirrored artwork on a screen does not automatically look visually centred on a person. Shoulders can rest at different heights, the rib cage may rotate slightly, soft tissue changes with posture, and garment seams do not always mark the body’s anatomical centre. These are ordinary features to design around, not defects to hide.
For a genuinely mirrored concept, begin by identifying a stable visual centreline and top and bottom landmarks. Place the stencil while standing or sitting in the posture requested by the artist, then return to a neutral stance for the main check. Look from conversational distance before inspecting small details. A close view can make tiny offsets seem important while hiding whether the whole shape feels balanced.
Useful checks include:
- Does the main vertical axis look calm when both arms hang naturally?
- Do the widest points relate sensibly to the left and right chest rather than to a shirt seam alone?
- Does the lower edge stay intentional when you breathe normally?
- Are paired focal points balanced in visual weight, even if the body or artwork is not perfectly identical?
- Does a photograph taken square-on confirm what the mirror shows, or is the camera tilted?
A one-sided design needs a different test. Its aim is intentional placement, not bilateral equality. Check whether the inside edge feels deliberate near the sternum and whether the subject points toward or away from the centre. Do not add a second element merely to manufacture symmetry if the original concept works better alone.
Breathing is part of the placement check
The NCBI Bookshelf review of chest-wall movement explains that inhalation changes the dimensions of the thorax and raises the sternum as the ribs move. In practical terms, the chest is never a completely still sheet. That movement should be anticipated rather than treated as a mistake.
Do not plan to hold your breath through the stencil or tattoo. A breath-held pose is difficult to repeat and does not represent how the design will normally be seen. Follow the artist’s positioning instructions, breathe steadily, and warn the artist before a cough, sneeze or necessary movement. The artist can decide how to sequence lines around normal movement; online breathing tricks cannot guarantee comfort or precision.
For placement approval, compare a normal exhale, a normal inhale and a relaxed resting view. The goal is not to make every line appear motionless. It is to ensure that the design remains coherent through ordinary movement and that its most important features do not depend on one forced pose.
Use clothing as a measurable boundary
Visibility is easier to plan with real garments than with a verbal request to “keep it hidden.” Necklines vary between work shirts, uniforms, casual tops and formal clothing. Straps, bra or bralette bands, binders, undershirts, compression tops and support garments can also cross different parts of the chest. Mention what you wear without assuming that one clothing pattern applies to everyone.
If concealment matters, bring or photograph the garment with the lowest or widest boundary you need to respect. Mark where the fabric sits while you stand, sit and reach normally. A design that is hidden in a straight mirror pose may appear when the collar shifts or an arm lifts. Conversely, a tattoo intended to be visible above a neckline needs enough of its main form exposed to read intentionally rather than as a clipped edge.
Clothing also matters after the appointment. Healthdirect Australia advises avoiding tight or dirty clothing over a new tattoo, and Cleveland Clinic recommends loose, breathable options to reduce sticking and irritation. This does not create one rule for every chest garment. Ask how the exact stencil, dressing and clothing contact points should be handled for your piece, and do not assume a fixed number of days without straps or fitted layers.
Let scale follow the centreline and viewing distance
A narrow vertical design can follow the sternum but may need enough width for its detail to remain clear. A broad chest composition needs a readable outside shape when seen from farther away. A small motif may be intentionally subtle, yet compressing a complex reference to fit between two clothing lines can remove the open space that separates its features.
Before choosing centimetres, decide which elements are essential and which are optional. Then compare the available surface with the design’s orientation. The tattoo size guide explains why the same measurement behaves differently on a flat reference, a curved torso and a moving body.
Check three viewing distances: close enough to inspect detail, a normal conversation distance, and far enough to see the chest as part of the whole body. Symmetry grids help with alignment, but they do not replace this visual test. A technically centred stencil can still feel too high, low, narrow or wide for the intended read.
Plan healing around contact and movement, not a promised date
Chest tattoo healing and sternum tattoo healing vary with the size, exact location, skin response and care instructions. Early sensitivity, mild redness, swelling or clear fluid can occur, while the overall direction should improve rather than worsen. No source in this guide supports a chest-specific deadline that fits everyone.
Before the appointment, map the contacts you cannot avoid: shirt seams, support garments, seat belts, shoulder-bag straps, sleep position and repetitive upper-body activity. Ask which ones intersect the tattoo and how to follow the instructions provided for the dressing and skin. Do not add an unapproved layer or product simply to stop a garment touching the area.
Increasing pain, redness that darkens or spreads, pus, fever, chills or feeling unwell needs medical assessment. These signs cannot be diagnosed by pain location or a photograph. Contact the artist for questions about the issued care instructions and a healthcare professional for concerning or worsening symptoms.
Build a consultation brief that shows placement and privacy boundaries
A useful chest or sternum brief includes:
- a relaxed, square front photo that shows the relevant torso landmarks;
- left and right three-quarter views, plus a side view for a one-sided design;
- one image showing the neckline, strap or garment boundary that matters;
- a marked copy showing the proposed top, bottom and side limits;
- the main subject, vertical or horizontal direction, and approximate size range;
- whether visual symmetry, one-sided balance or central alignment is the priority;
- any comfort or privacy limits for photos and the in-person stencil check.
Begin with the minimum images needed to show the area. Ask before sending intimate photographs, and do not include medical documents in an ordinary design enquiry. When the brief is ready, contact Yuyi Tattoo with the front and side placement views and your preferred visibility boundary. The first review should clarify the body fit and practical constraints, not promise a pain level, healing date or result.
Sources and review date
- International Association for the Study of Pain — Pain Management Center, Chapter 1 — reviewed 24 August 2026.
- NCBI Bookshelf — Anatomy, Thorax, Wall Movements — reviewed 24 August 2026.
- Healthdirect Australia — Body piercings and tattoos — reviewed 24 August 2026.
- Cleveland Clinic — Tattoo Aftercare: Instructions and Healing Tips — reviewed 24 August 2026.
- American Academy of Dermatology — Tattoos: 7 unexpected skin reactions and what to do about them — reviewed 24 August 2026.
Frequently asked questions
How painful is a sternum tattoo?
No source can predict one score for everyone. A sternum-centred design lies over a bony landmark, but exact boundaries, scale, technique, sitting length, positioning and personal pain response all affect the experience. Treat online rankings as broad discussion points and ask about the specific design proposed for your body.
Does a sternum tattoo have to be perfectly symmetrical?
No. A central piece can be mirrored, visually balanced or deliberately asymmetrical. If symmetry is part of the concept, check the stencil against a relaxed centreline and the whole chest rather than demanding that every edge match a flat digital grid despite ordinary differences in posture and body shape.
Will breathing distort a chest tattoo?
Breathing normally moves the ribs and sternum, so the surface changes during placement, tattooing and everyday viewing. The design should remain coherent through that normal movement. Do not rely on holding your breath; follow the artist’s position and movement instructions instead.
What should I wear for a chest or sternum tattoo appointment?
Choose clothing that provides access while respecting your coverage preferences and the artist’s working needs. Bring a front-opening or loose layer if appropriate, and identify any neckline, strap, band, binder or support garment that must cross the area later. Confirm the exact clothing plan before the appointment.
What photos should I send for chest tattoo placement planning?
Send a relaxed front view, both three-quarter views and a side view when relevant. Include one image with the visibility-critical garment, plus marked and unmarked versions of the proposed boundary. State whether the design is centreline, balanced across both sides or intentionally one-sided, and share only the minimum imagery needed.