To describe tattoo placement clearly, name the side of the body, the surface, the upper and lower boundaries, the direction the design should face, and the position of the body in your photos. “Left outer forearm, beginning below the elbow crease and ending above the wrist, with the tiger facing toward the hand” gives an artist a usable map. “Arm tattoo” does not.
The point is not to use medical language. It is to remove avoidable ambiguity before the artist plans scale, crop and flow. A short description, supported by several unfiltered photos, is more useful than a long message that never shows where the tattoo should begin or how it should turn around the body.
Start with the side and the surface
Write left or right from your own perspective. Do not rely on a mirrored selfie to communicate the side. Phone cameras and messaging apps may flip an image, so add a note such as “my left arm” in the message and, if useful, hold a handwritten L or R card in one wide photo.
Next, name the surface rather than only the limb. An arm has an outer, inner, front and back view. A leg has a front shin, outer calf, inner calf, back of calf and several surfaces around the thigh. “Right upper arm” still leaves the artist guessing; “right outer upper arm, visible when my arm rests at my side” is clearer.
Ordinary tattoo body landmarks work well:
- elbow crease, point of the elbow, wrist crease and wrist bone;
- shoulder cap, collarbone, sternum and lower edge of the ribs;
- kneecap, back of the knee, ankle bone and top of the foot;
- spine, shoulder blade, waistline and centre of the chest.
You do not need to identify a muscle or bone by its formal anatomical name. Use a landmark you can point to consistently in the photo and in person.
Describe the boundaries, not only the centre
Clients often mark the centre of a planned tattoo and leave the edges undefined. That is enough for a small symbol, but it is not enough for a design that stretches, wraps or connects with existing work.
Give the artist a top boundary, a bottom boundary and, when relevant, side boundaries. For example:
My right calf, starting about two fingers below the back of the knee and ending above the ankle bone. The main face should sit on the outer-back surface, with the background allowed to turn toward the inner calf.
This tells the artist where the main read belongs and where supporting forms may travel. It also shows whether “calf tattoo” means a narrow rear panel or most of the lower leg.
For a back piece, describe whether you mean upper back, one shoulder blade, both shoulder blades, the centre line, or the full area from the nape toward the waist. For a chest project, state whether the design should remain on one side, cross the sternum or continue over the shoulder. Boundaries are part of the composition, not an administrative detail.
Make direction explicit
Tattoo direction on an arm can mean several different things. “Facing inward” might mean facing the wearer’s torso, facing the opposite arm, or facing upward toward the shoulder. Replace inward and outward with a visible destination.
Useful phrasing includes:
- “The face should look toward my hand when my arm is relaxed.”
- “The flower should open toward my shoulder.”
- “The lettering should be upright to someone standing in front of me.”
- “The date should be readable to me when I turn my wrist.”
- “The dragon should climb from the forearm toward the upper arm.”
If you are undecided, say so. The artist can compare options against the anatomy and the composition. What matters is distinguishing a required direction from a preference. For a portrait, character, animal or script tattoo, this decision should be discussed before the stencil is approved.
Send a small set of placement photos
One close-up is rarely enough. It hides the relationship between the proposed area and the rest of the body. Send a compact set that lets the artist understand both context and surface.
For an arm or leg, four views usually communicate the area well: front, back, inner side and outer side. Keep the whole joint above and below the planned area in frame. If the design may wrap, add a short video that turns slowly around the limb, or take overlapping still photos without changing distance.
For the torso, take a straight front or back view and both three-quarter views. Keep the camera roughly level with the planned area. A steep angle from above can make the chest, shoulder, thigh or forearm look shorter than it is. Avoid portrait mode blur, filters, beauty settings and dramatic shadows. Ordinary room light is more useful than a polished photograph.
Mark the proposed boundary on a copy of one image rather than drawing directly on your skin for every shot. A simple line or translucent block is enough. Keep one unmarked version so the artist can still see natural landmarks and existing tattoos.
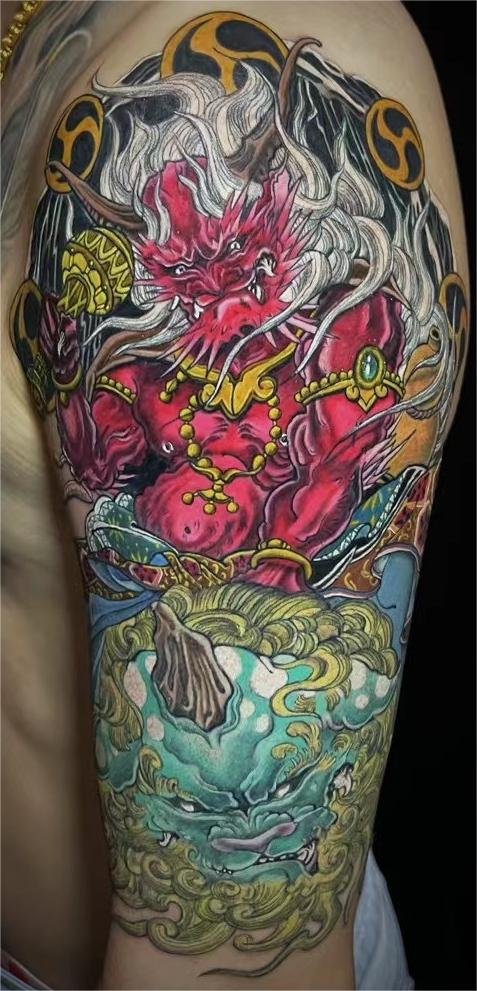
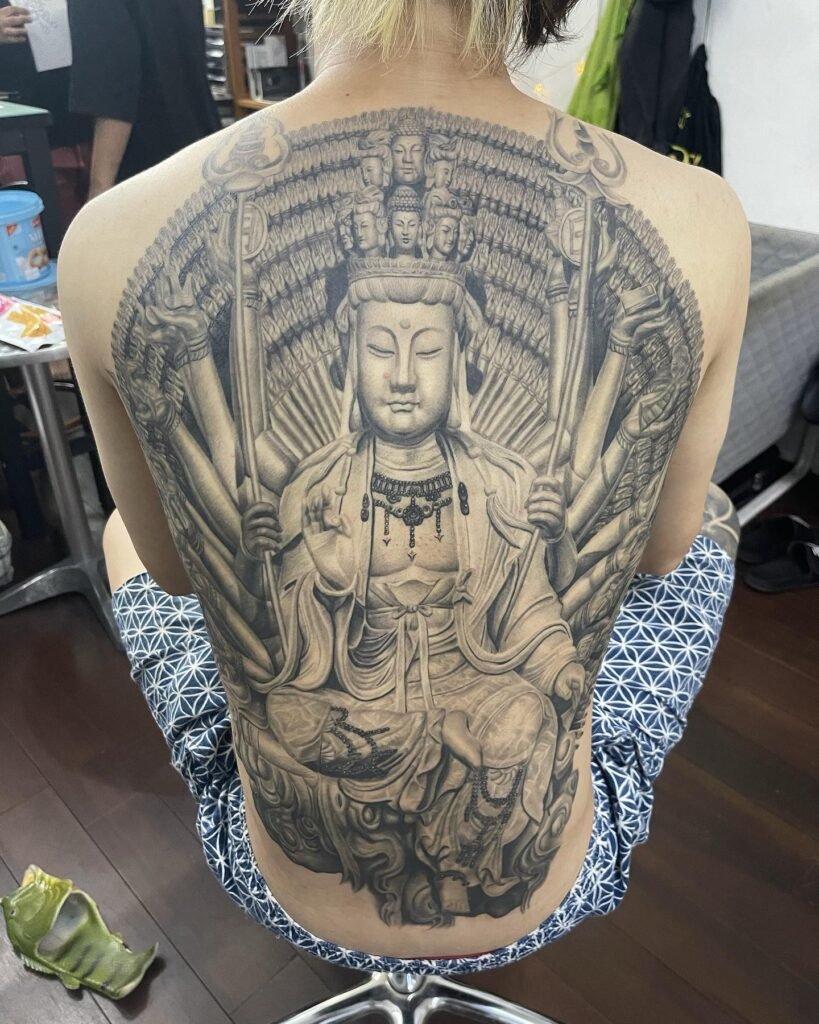
You can view Yuyi Tattoo’s work to see how larger subjects sit across shoulders, arms, backs and legs. Use those examples to discuss placement logic, not to request a copy of another finished piece.
Show the body relaxed, then show the joint moving
A tattoo is worn in ordinary posture, not only in the pose used for a photo. Start with the arm hanging naturally or the leg bearing weight normally. That relaxed view shows how most people will first see the design.
Then add a movement view if the tattoo approaches a joint or crosses from one body plane to another. Bend and straighten the elbow or knee gently. For a shoulder-to-chest design, show the arm relaxed and slightly lifted. For a side or rib placement, show a neutral standing position rather than stretching hard to make the area look flat.
These photos do not let anyone guarantee how a design will move or feel. They simply show where skin folds, where the visible surface changes and which part of the composition may disappear when the body turns. The final stencil still needs to be checked on the body.
Explain curved and wrapping areas as connected views
A shoulder cap, forearm, calf, rib area and hip are not flat rectangles. If a design wraps, choose a main view and describe what may continue around the side.
For example: “The face should read from the outer upper arm. Hair and smoke can wrap toward the back, but I do not want the main features to disappear under the arm.” That gives the composition a front door. Without a main view, every part may compete for attention and the subject can become hard to read from any angle.
When two areas meet, name the turn: chest to shoulder, shoulder to upper arm, thigh to knee, calf to shin, or ribs to back. A useful description explains which area leads and which supports it. The artist can then decide whether a background element, open skin or part of the subject should cross the turn.
Measure after the area is understood
To measure tattoo placement, give an approximate height and widest width in centimetres. Use a flexible tape beside the body area, following the surface gently rather than pulling it tight. If you do not have a tape, include a known real-world object in one photo and state its actual size. Do not rely on screen rulers or a cropped image with no scale.
Treat the measurement as a starting range, not a demand that a detailed drawing be squeezed into a fixed box. The subject may need more height, width or open space to remain readable. If size is a hard limit because of clothing, work or an existing tattoo, say that clearly.
Placement affects more than composition. Visibility, clothing friction, sun exposure, work routines and personal comfort may change the decision. The first tattoo guide for Singapore covers the wider appointment questions, while the tattoo pain chart explains why pain estimates should be treated as ranges rather than guarantees.
Handle scars, skin concerns and private areas carefully
For scars, birthmarks, moles, active skin conditions or textured areas, describe what intersects the proposed boundary and ask what can be assessed from a normal photo. Do not send medical records in a casual enquiry. A healthcare professional should assess medical suitability; the tattoo artist assesses design and placement.
For a private body area, begin with a written description and a clothed or tightly cropped boundary photo that does not reveal more than necessary. Ask what images are genuinely needed before sending intimate material. State any comfort boundary for an in-person placement check, and confirm who will be present. Clear communication protects both the client and the artist without making the first message overly personal.
A placement message you can copy
Use this format:
Placement: My left outer forearm. The top edge should begin below the elbow crease and the bottom edge should finish above the wrist bone. I want the main subject visible when my arm hangs naturally, with the face looking toward my hand. The available area is approximately 17 cm high by 8 cm at the widest point. I have attached front, back, inner and outer photos, including one with my elbow bent. The size can change if the design needs more room.
Add the subject and references in separate lines. This keeps placement information easy to find without repeating the entire enquiry. If you are unsure between two nearby areas, send both and explain the practical difference you are considering, such as visibility or how an existing tattoo might connect.
When you are ready, contact Yuyi Tattoo with the placement description and photos. Yuyi Tattoo is in Geylang, Singapore, and the WhatsApp number is +65 9128 0501. Confirm the appointment before travelling to the studio.
Sources and review date
- OpenStax — Anatomical Terminology — reviewed 24 August 2026.
- NCBI Bookshelf — Directional Terms — reviewed 24 August 2026.
- SEER Training Modules — Anatomical Terminology — reviewed 24 August 2026.
Frequently asked questions
How do I describe tattoo placement if I do not know anatomy terms?
Use ordinary landmarks you can point to: elbow crease, wrist bone, shoulder cap, collarbone, kneecap, ankle bone, shoulder blade or waistline. Add the side and surface, then mark the boundaries on a photo. Clear everyday language is better than an uncertain medical term.
How many placement photos should I send?
Send enough views to show the full surface without burying the artist in duplicates. For an arm or leg, front, back, inner and outer views are a strong starting set. Add a movement view when the tattoo approaches a joint, and keep one image wide enough to show the surrounding body area.
How do I avoid left-right confusion in a mirrored selfie?
Write “my left” or “my right” in the message and hold a handwritten L or R marker in one photo. Do not rely on how the image appears in the chat preview. The written label and visible marker give the artist two ways to confirm the side.
Should a portrait or animal face toward my body or away from it?
There is no universal direction rule. State which way you want it to read when the limb is relaxed, then let the artist compare that preference with body flow and the rest of the composition. Use destinations such as hand, shoulder, chest or back instead of only saying inward or outward.
Do I need an exact centimetre size before the consultation?
An approximate height and width are enough to start. The artist may recommend changing the size so the subject, detail and negative space fit the area. If the boundary is fixed, explain why and show it clearly in the photos.
Can placement photos confirm that a scar or skin condition is safe to tattoo?
No. Photos can help an artist understand location and design constraints, but they cannot provide medical clearance. Ask a qualified healthcare professional about medical suitability, then discuss design feasibility with the artist.