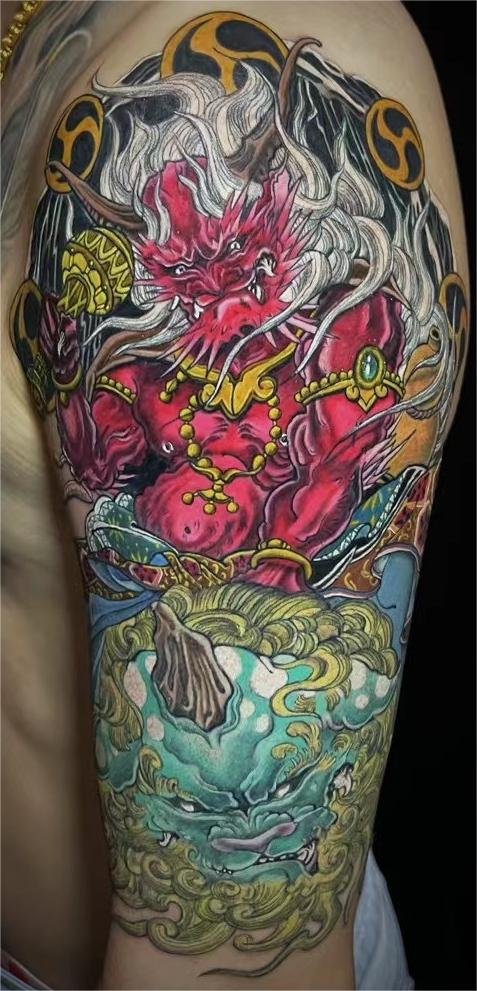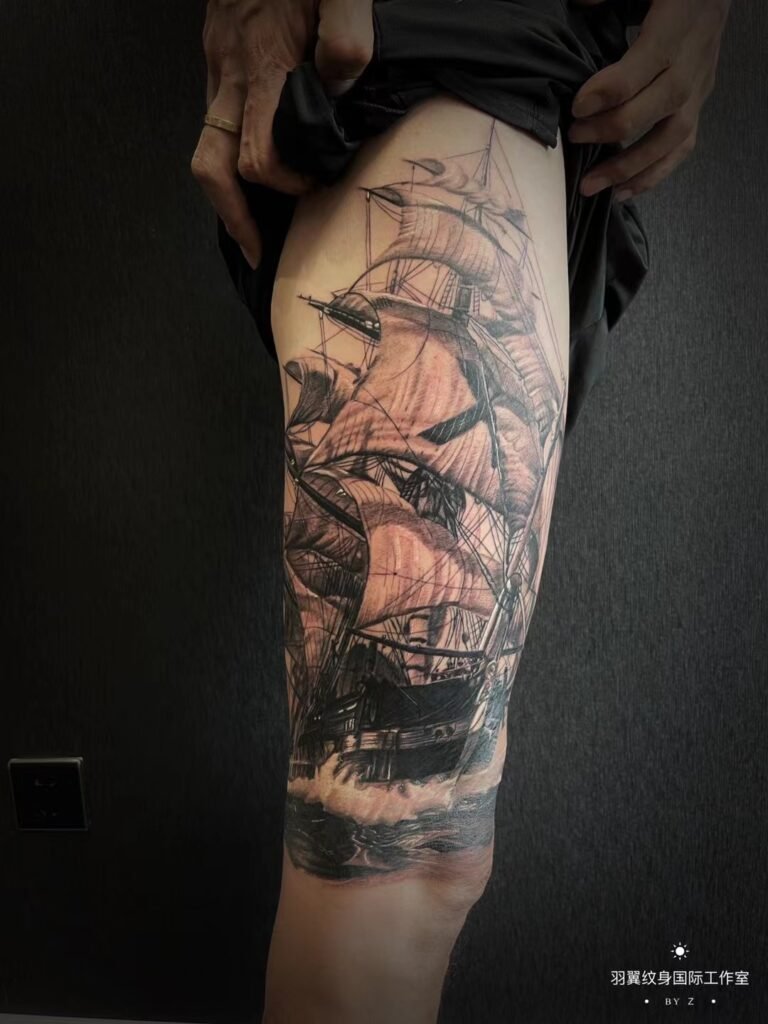
Choose the thigh when you want the most room and the easiest clothing coverage, the hip when the design should follow the side of the body, the calf when you want a clear profile or rear view, and the shin when a narrow front-facing composition suits the subject. None of these positions has one dependable pain score. The exact surface, proximity to bone, design density, sitting position and your own response all change the experience.
Ask which view, garment boundary and future option matter most to you. Compare the stencil while standing, walking and sitting, then decide whether the piece should remain independent or leave a route into a later leg sleeve. Full-leg photos are more useful than a close-up of the proposed spot.
Begin with the view you want people to see
A leg is read from several directions. The front is visible on approach, the outer side in a three-quarter or profile view, and the back while you walk away. The inner leg can remain comparatively private when standing, although movement and seated positions may reveal it.
Choose the main view before choosing the surface. A face that depends on a straight frontal read may suit a different area from a long botanical, animal or ornamental form that can turn with the leg. Keep the main subject from disappearing around the curve.
This first decision also helps separate a standalone tattoo from a sleeve plan. A single piece needs one convincing view and intentional edges. A leg sleeve needs connected panels around the whole limb. The leg sleeve tattoo planning guide explains that larger wraparound question; this guide stays with the choice of one main placement.
| Placement | Strongest everyday view | Typical coverage control | Main planning constraint |
|---|---|---|---|
| Outer or front thigh | Front or outer three-quarter view | Usually covered by longer garments | Large canvas can tempt an undersized design to float |
| Inner thigh | Inward or seated view | High, but garment cuts vary | Friction, stance and privacy during placement |
| Hip or upper side | Side profile | Depends on waist and leg openings | Waistbands, folds and the turn between torso and thigh |
| Calf | Rear, outer or side view | Changes with shorts, skirts, dresses and trousers | Cylindrical wrap and sock or boot contact |
| Shin | Direct front view | Visible with shorter clothing | Narrow width and a prominent front plane |
Thigh placement: room, privacy and several distinct surfaces
The thigh offers the broadest standalone canvas in this comparison, but “thigh tattoo” still needs a surface. The front thigh presents the design when you face the viewer. The outer thigh gives a strong side view and can carry a wider silhouette. The back thigh is mainly seen from behind. The inner thigh turns toward the other leg and may be more private when standing.
Scale is the advantage. A subject with several important shapes, gradual shading or a wider background can use the available height and width without being squeezed into the lower leg. A modest design can also work, but it should relate deliberately to the hip, knee and outside edge rather than float in a large empty field. The tattoo size guide can help you compare detail with the actual surface rather than selecting centimetres in isolation.
Clothing makes the thigh practical for many people, yet coverage is not automatic. Shorts can reveal a lower or outer edge. High-cut garments can reveal the upper side. Tight denim, work trousers, sportswear and underwear seams can contact different sections. Sit in the clothes you normally wear and mark where the fabric pulls, folds or presses. The boundary that looks clear while standing may meet a seam when the hip bends.
For an inner-thigh placement, include stance and walking in the review. The two legs may approach or brush one another, and fitted garments can add contact. Inner thigh tattoo pain cannot be promised from the label alone. Treat the exact marked position, design and working posture as the real comparison.
Hip placement: define where the hip ends and the thigh begins
People use “hip tattoo” for several areas: the bony upper side, the soft side below the waist, the upper outer thigh, or a design that crosses between the torso and leg. Those are not interchangeable. Mark the upper and lower boundary on a standing photo and show where your usual waistband and leg opening sit.
A hip placement suits a design that follows the side silhouette or is revealed selectively by clothing. It can hold a diagonal, curved or fan-shaped composition that would feel cramped on the shin. Sitting folds the front-side area, while walking changes the relationship between pelvis and thigh. OpenStax describes lower-limb movement at the hip, but anatomy alone cannot predict how a tattoo will feel.
The main practical question is contact. Waistbands, underwear edges, shapewear, swimwear and sports clothing do not follow one universal line. Bring the garments that set a hard visibility boundary rather than describing the area as “hidden.” If the tattoo may later extend down the thigh or upward toward the torso, say so before the outer edge is closed.
Hip tattoo pain also varies with the precise border. A design placed over a pronounced landmark is a different proposal from one moved slightly onto a neighbouring area. Ask the artist to compare the actual stencil options, not to rank every hip tattoo as one category.
Calf placement: a vertical canvas with more than one main view
The calf suits a vertical design seen from the side or rear. Its muscular back differs from the outer calf, inner calf and shin transition. Choose one as the composition’s main view. If every important feature wraps equally around the leg, none may be fully readable from a normal angle.
An outer-calf piece can appear clearly in profile and three-quarter views. A rear-calf design is prominent while walking away. An inner-calf placement is less outward-facing in a neutral stance but can be visible when the feet turn or the wearer sits. Check all four angles with the knee straight and gently bent.
Clothing control is mixed. Trousers may cover the tattoo, but the fabric can move against it. Socks, compression garments, work boots and tall footwear may reach farther up the calf than expected. Photograph those edges beside the proposed boundary. Healthdirect advises avoiding tight or dirty clothing over a new tattoo, so compulsory uniforms and fitted gear belong in the placement discussion before a date is chosen.
Calf tattoo pain should be discussed as an exact-location question. The broad calf, the inner side, the shin border, the ankle end and the back-of-knee end do not share one sensation. Design density and the position needed to keep the lower leg steady matter as well.
Shin placement: a direct read on a narrow front plane
The shin provides the clearest front-facing route in this group. Long subjects, stacked forms and narrow compositions can follow the line between knee and ankle. That view suits a strong central axis but exposes weak proportions because there is less width for secondary elements.
Do not shrink a wide, detail-heavy reference simply to fit the shin. Decide which elements must stay on the front and which, if any, may turn toward the calf. The tattoo design readability guide explains why the main silhouette, value separation and open skin should work before small texture is added.
Visibility is easy to test: wear the shortest and longest garments you commonly use, then stand and sit. Also check trouser hems, shin guards, high socks, boots and any equipment used for work or sport. A shin tattoo can be visually exposed yet physically covered, so public visibility and fabric contact should be assessed separately.
Shin tattoo pain is often discussed online as though bone proximity determines a guaranteed result. It does not. The International Association for the Study of Pain states that pain is a personal experience influenced by biological, psychological and social factors. Bone proximity, design technique and sitting length are useful planning variables, but they do not produce a universal score.
Plan early care around friction and movement
All four placements move during ordinary life. The hip and thigh change with sitting and walking, the calf changes profile, and the shin travels beneath trouser legs and protective gear. Movement need not be eliminated, but unavoidable contact belongs in the schedule discussion.
Map the first part of your normal routine:
- List the work, commuting and exercise clothing you must wear.
- Mark the seams, cuffs, waistbands, boot tops and equipment edges that cross the proposed tattoo.
- Note long periods of standing, walking, driving or sitting that cannot be rearranged.
- Ask how the dressing and issued care instructions interact with those contacts.
- Keep medical questions separate from design questions and seek healthcare assessment for concerning or worsening symptoms.
Healthdirect describes a new tattoo as a skin wound, notes that redness, swelling, sensitivity or weeping may occur, and advises following the tattooist’s care instructions. The US Food and Drug Administration similarly advises contacting a healthcare professional if the area is not healing or if a rash, fever or other concerning reaction develops. Neither source provides a thigh-, hip-, calf- or shin-specific deadline that can be promised to every person.
Protect future options without turning one tattoo into a sleeve plan
A standalone leg tattoo can remain independent, connect to another piece later, or become the first anchor in a larger project. You do not need to commit to a leg sleeve now. You do need to tell the artist whether expansion is possible.
If future work may move toward the knee, avoid treating the remaining transition as leftover space. If a thigh piece may extend downward, its lower edge can remain visually open without looking unfinished. If a calf piece may grow upward, preserve a route around the knee rather than closing every upper contour. A shin piece that might connect around the lower leg needs enough contrast and empty space left on the sides.
If this is your first tattoo, the first tattoo placement guide covers broader questions about access, visibility and routine. Use it to compare the leg with other areas, then return to the exact leg surface for the final stencil decision.
Send a consultation-ready leg placement brief
Photograph the full leg from the front, back, inner side and outer side while standing naturally. Add a seated view for a thigh or hip proposal, and a gently bent-knee view when the design approaches that joint. Keep one clean set and mark the preferred boundary on copies.
Your message should state:
- left or right leg and the exact surface;
- the intended main viewing direction;
- approximate height and widest width;
- clothing, uniform, sport or footwear boundaries;
- whether the tattoo should stand alone or may extend later;
- the subject, essential details and details that can be simplified.
When those materials are ready, contact Yuyi Tattoo with the placement photos and the standalone-versus-future-sleeve decision. That gives the consultation a defined body area, a usable visual goal and clear practical constraints without asking for a fixed pain result or healing promise.
Sources and review date
- International Association for the Study of Pain: IASP announces revised definition of pain – reviewed 24 August 2026.
- OpenStax: Appendicular muscles of the pelvic girdle and lower limbs – reviewed 24 August 2026.
- Healthdirect Australia: Body piercings and tattoos – reviewed 24 August 2026.
- US Food and Drug Administration: Think Before You Ink, Tattoo Safety – reviewed 24 August 2026.
Frequently asked questions
Is the thigh always less painful than the calf or shin?
No. Broad location labels cannot predict an individual experience. Exact position, proximity to a bony landmark, design density, technique, sitting position, fatigue and personal pain response all matter. Compare marked stencil options rather than relying on one ranking for the entire thigh, calf or shin.
Is an inner thigh tattoo easy to keep private?
It can offer substantial coverage control, but privacy depends on the exact height, stance and clothing. Shorts, swimwear, high leg openings and seated positions can reveal areas that appear hidden while standing. Test the proposed boundary in the garments that matter to you.
Is the calf better than the shin for a vertical design?
Both can carry a vertical composition. The calf offers outer, inner and rear views on a curved surface, while the shin gives a direct but narrower front view. Choose according to the subject’s width, the intended audience view and whether supporting elements need to wrap.
Can a standalone thigh tattoo become part of a leg sleeve later?
It may be possible if the first piece leaves a usable visual route and the later design can work with its scale, value and edges. Mention possible expansion before the thigh piece is drawn. That does not commit you to a sleeve; it simply avoids closing every transition by accident.
What photos should I send for leg placement planning?
Send front, back, inner and outer views of the full leg while standing naturally. Add a seated view for hip or thigh placement and a bent-knee view when relevant. Include marked and unmarked copies, plus photos of any garment, boot, sock or equipment boundary that cannot move.