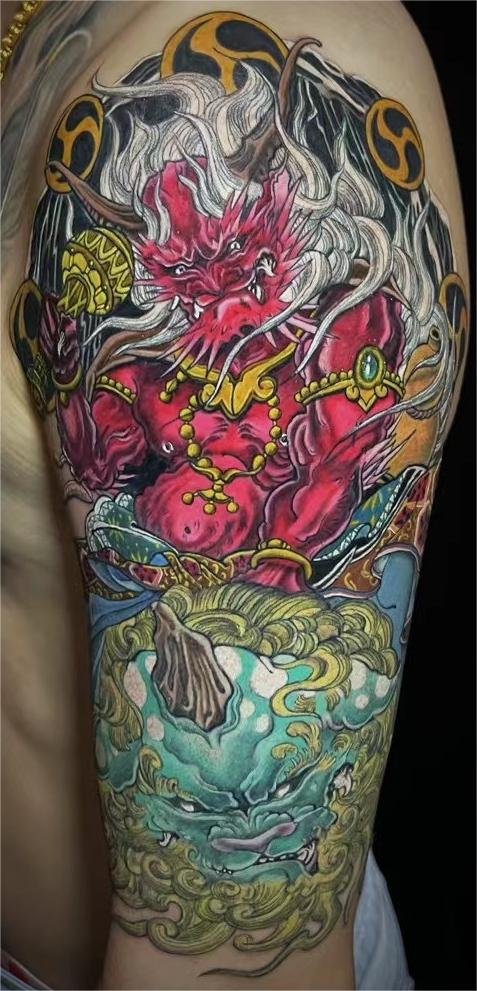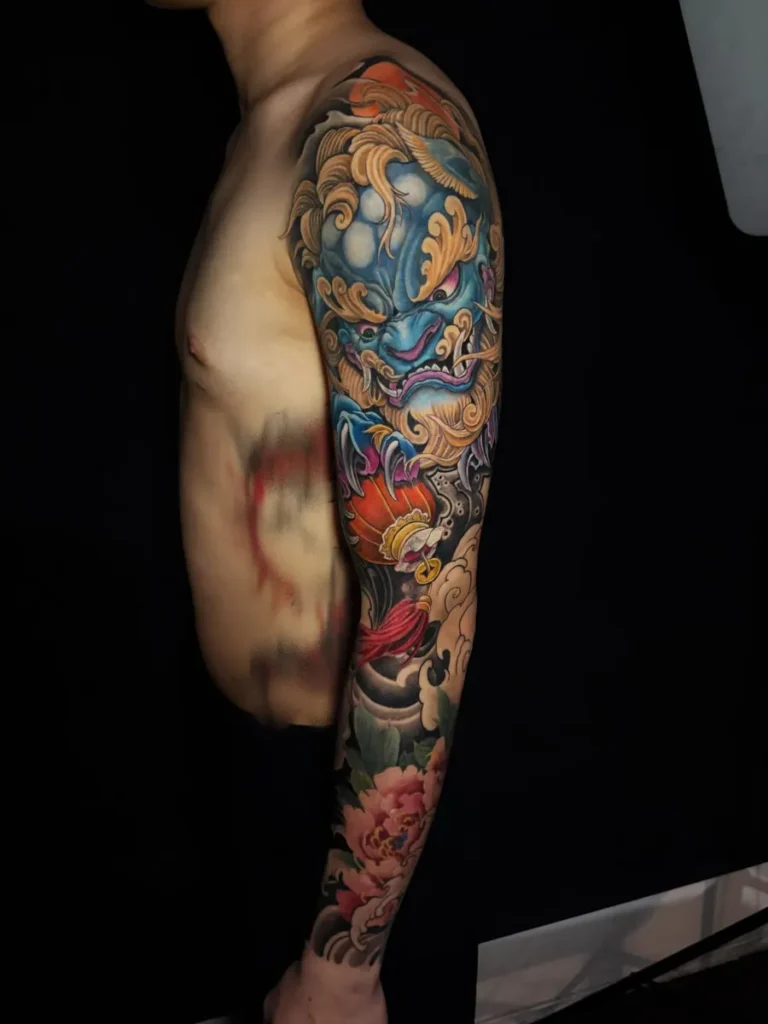
Patchwork sleeve planning lets you collect separate tattoos without committing to one full-arm drawing. The practical method is to map the whole arm, reserve space for larger future ideas, choose a consistent gap rhythm, and check the visual weight of every new piece against what is already there.
You do not need to decide every subject now. You need a system that protects later choices. Keep four-angle arm photos, mark existing tattoos, rank the pieces you want next, and review the full arm before approving each placement. That is enough structure for the collection to grow deliberately over time.
Plan rules, not a finished collage
A unified sleeve begins with one composition. A patchwork sleeve begins with independent pieces, so trying to draw the entire finished arm defeats part of its appeal. The useful middle ground is a placement plan: it sets boundaries and priorities without locking you into subjects you may not want in two years.
Write down a few rules before choosing the next design. Decide whether the arm will be colour, black and grey, or an intentional mix. Choose whether gaps should feel generous or compact. Note any areas you want to keep open, such as the inner arm, wrist or elbow. Decide whether you prefer one broad visual style or are comfortable collecting distinct artists’ work.
These rules are filters, not a theme. A botanical piece and a portrait can share an arm if their size, contrast and spacing make sense together. Two tattoos with similar subjects can still clash if one is tiny and pale while the other is large and very dark.
If you are still deciding between a collected arm and one continuous design, read the patchwork versus unified sleeve comparison first. The rest of this guide assumes that you want separate tattoos and need an order for adding them.
Step 1: make a current arm map
Start with evidence rather than memory. Photograph the arm from the front, back, inner side and outer side in even light, with your shoulder relaxed and your hand in a neutral position. Add a bent-elbow view because some gaps disappear when the joint closes. Take close photographs of existing tattoos as well, but do not use close-ups in place of the whole-arm views.
Print the photographs or place them on a simple digital page. Mark five kinds of information:
- Existing tattoos and the direction each one faces.
- Open areas large enough for a future focal piece.
- Narrow spaces that may only suit small or elongated designs.
- Movement zones around the shoulder, elbow crease and wrist.
- Boundaries you want to preserve for clothing, work or personal preference.
Do not fill the marked gaps yet. The map exists to show what is scarce. A broad outer upper arm can hold many ideas, but once it contains several small pieces, it may no longer accept the large design you kept postponing.
Step 2: place visual weight before subject details
Visual weight is the amount of attention a tattoo pulls through size, darkness, colour, detail and position. The Getty’s art vocabulary guide describes balance as the distribution of visual weight and rhythm as repetition that moves the eye through an artwork. Those principles work on an arm too, even though the surface is cylindrical and moving.
Choose one or two anchor zones for the largest pieces you can realistically imagine collecting. Common candidates are the outer upper arm and outer forearm because they offer clear views, but your anatomy and existing tattoos decide the actual options. An anchor does not have to be tattooed first. It simply gets protected first.
Then look for counterweight. If a dark, palm-sized piece dominates the outer forearm, the next major tattoo does not have to mirror it. It should stop the arm from feeling heavy in only one place. That might mean a larger but lighter piece above it, a medium piece on the rear upper arm, or simply leaving enough open skin around the first tattoo so it does not swallow its neighbours.
Judge balance from several distances. A close view reveals line and texture; a mirror or whole-arm photograph shows whether one patch becomes a dark island. Patchwork sleeve design ideas often look persuasive as individual screenshots but fail when their silhouettes are tested together.
Step 3: choose a spacing language
Negative space is part of the design, not leftover skin. Getty defines it as the space around and between objects. On a patchwork arm, those spaces determine whether the eye reads a calm collection or a pile of unrelated stickers.
There is no universal gap measurement because pieces have different shapes and arms taper. Instead, pick a relationship that can repeat. You might prefer a generally even margin around each tattoo, or wider breathing room around anchors with tighter spacing among smaller supporting pieces. Either can work. Randomly alternating hairline slivers and large empty channels usually looks less settled.
Watch the shape of a gap, not only its width. A long crescent beside a forearm piece may suit an elongated leaf, blade or abstract form later. A tiny four-sided hole between round tattoos may be nearly impossible to use without making the filler look forced. Before approving a stencil, inspect the new negative shapes it creates on every side.
Leave the most awkward spaces open until neighbouring pieces are settled. Buying small filler designs early feels productive, but it can turn a useful transition area into several unusable pockets. The elbow, inner elbow and wrist deserve particular patience because they connect larger arm zones and change shape with movement.
Step 4: build a desired-piece order
Create three lists rather than one long wish list:
- pieces you would regret losing space for;
- pieces you want but can resize or relocate;
- small ideas that can wait for a specific gap.
The first list controls the map. Test those subjects at a workable scale before adding flexible designs nearby. The tattoo size guide explains why centimetres alone do not settle scale: detail, body curvature and the amount of open skin within the design all affect what will fit.
A useful sequence is anchor, counterweight, bridge, then optional filler. This is not a mandatory appointment schedule. It is a decision order. The anchor claims an important zone. The counterweight balances the growing arm. A bridge handles a difficult transition, perhaps between upper and lower arm. Filler comes last, once the actual remaining shapes are visible.
Recheck the order after every tattoo. A stencil may wrap farther than expected, a piece may heal with more or less visual weight than it had on screen, or your preferences may change. A patchwork plan should absorb those changes rather than pretending the first sketch was final.
Keep consistency without making every piece identical
Using one artist can simplify decisions about line, contrast and spacing, but a patchwork sleeve does not require one artist or one style. If you collect from several artists, consistency has to come from the arm-level rules you carry between appointments.
Track a short set of visible traits: black and grey versus colour, soft versus hard edges, dominant line weight, average piece size, contrast level and how much background each tattoo includes. You can vary one or two traits without varying all of them at once. A mixed-style sleeve often feels intentional when scale and spacing stay steady; a same-theme sleeve can feel disorganised when every tattoo has a different density.
Show each artist current whole-arm photographs, not just the empty spot. Explain which gaps are protected and which piece is expected next. Ask how the proposed stencil relates to neighbouring silhouettes. This is more useful than asking an artist to copy another person’s technique, and it gives the new work room to remain recognisably theirs.
Healed photographs matter here. Fresh tattoos can appear darker and sharper than settled work, so judging every new idea against fresh close-ups may distort the balance you are trying to build.
Use a patchwork sleeve healing plan, not a fixed calendar
A patchwork sleeve is naturally staged, but it has no standard number of sessions. One design may require a different approach from another because size, detail, placement and skin response vary. Cost and timing also depend on the actual pieces and how the project is organised. They cannot be fixed from the words “patchwork sleeve” alone.
Plan the next decision around review, not a generic countdown. Follow the aftercare instructions given for the tattoo, allow the worked area to settle, and send clear photographs if the artist asks to assess it before placing nearby work. The American Academy of Dermatology’s guidance for tattooed skin also advises professional assessment when tattooed skin develops a reaction or changes unexpectedly.
Do not use a design schedule to override a health concern. Singapore’s HealthHub wound-care guidance lists worsening warmth or pain, spreading redness, swelling, pus, fever and swollen lymph nodes among signs that warrant medical attention. If something concerns you, separate that question from the composition plan and seek appropriate care.
Once a tattoo has settled enough for a useful visual review, update the arm map. The healed result, not the original mock-up, becomes the basis for the next placement.
Know when the plan is changing
Collected sleeves sometimes move towards a more connected result. You may decide that the remaining gaps should stay open, receive small independent pieces, or be joined by one shared background. None of those choices is required at the start.
Pause before adding a unifying background simply because the arm is nearly full. Background can change the project from a collection into a hybrid composition and may alter the clarity of every existing piece. If you are considering a broader commitment, compare half-sleeve and full-sleeve boundaries before using the remaining transitions.
The right time to reassess is when the next tattoo would close an elbow route, consume the last anchor-sized area, or force every later piece to become filler. A review at that point preserves options. It does not oblige you to finish the arm.
What to send for a staged consultation
For a useful patchwork planning conversation, prepare the current map rather than a perfect final mock-up. Send:
- four whole-arm photographs plus a bent-elbow view;
- clear close-ups of all existing tattoos;
- your desired-piece order, separated into must-place, flexible and small ideas;
- references labelled with what you like about scale, mood or treatment;
- your preferred gap rhythm and any zones that must remain open;
- whether you expect to use one artist or collect work from several;
- any practical visibility boundaries around the wrist or upper arm.
You can contact Yuyi Tattoo with those materials. The first useful decision is not how quickly to fill the arm. It is which future choice the next placement must protect.
Sources and review date
- Source review, Getty art vocabulary and principles of design: reviewed 24 August 2026.
- Source review, American Academy of Dermatology guidance for tattooed skin: reviewed 24 August 2026.
- Source review, HealthHub Singapore wound-care guidance: reviewed 24 August 2026.
Frequently asked questions
How many sessions does a patchwork sleeve take?
There is no fixed session count. A patchwork sleeve is a sequence of separate designs, and each one differs in size, detail, placement and healing needs. Build the appointment plan after the artist has reviewed the next piece and the current arm, not from a generic sleeve estimate.
Do all tattoos in a patchwork sleeve need the same style?
No. Different styles can share an arm when spacing, scale and visual weight are controlled. If you mix artists or styles, keep a few arm-level rules consistent, such as palette, average piece size, contrast and gap rhythm.
Should I fill every small gap?
Not automatically. Some gaps give the collection its rhythm, while others preserve routes around joints or space for a future design. Decide on filler only after the larger pieces have settled and the remaining shape can be judged on the whole arm.
Which tattoo should go first on a blank arm?
Protect the largest must-have idea first, even if it is not the first tattoo you book. If you begin with a smaller piece, place it where it will not fragment the anchor zone. Whole-arm photos and a size test make that decision easier.
Can I turn an existing collection into an intentional patchwork sleeve?
Often, yes. Map what is fixed, compare the darkness and scale of the existing pieces, and identify the biggest usable spaces before adding anything. The next piece should solve a clear balance or spacing problem rather than merely occupy the nearest empty patch.